6-Week Baby Shower Planning Timeline: A Stress-Free Countdown
Planning a baby shower? Follow our 6-week countdown for a stress-free experience. From the first steps to the final details, stay organized and enjoy the journey!
Emily Harper
4/11/20258 min read

Introduction:
Okay, deep breath—you’re planning a baby shower! Whether you're the best friend, sister, co-worker, or brave cousin, you've totally got this. The key to success? A solid timeline. Trust me, I’ve learned the hard way (hello, frantic last-minute cupcake runs and missed RSVP counts) that planning ahead makes the process so much more enjoyable. Here’s the week-by-week guide I wish I had when hosting my first shower. Let’s get started!
✅ 6 Weeks Before – Pick the Big Stuff
This is your foundation week! Focus on getting the big items in place, so everything else can fall into place smoothly.
✔️ Talk to the Parent(s)-to-Be: Check in with the parents-to-be and get their input. Confirm the date, guest list, registry, and any major “no-gos” (such as surprise parties or games they’d prefer to avoid). Their preferences will guide your decisions.
✔️ Set a Budget: Have a clear understanding of the budget from the get-go. Who is paying for what? Will you be splitting costs with friends? Set expectations early to avoid confusion later.
✔️ Choose the Date and Time: Aim to hold the baby shower 4-6 weeks before the due date. Weekend brunches tend to be popular for baby showers, but choose a time that works for the parents-to-be and key guests.
✔️ Book a Venue: Whether you’re hosting in a backyard, living room, clubhouse, or park, now is the time to secure your venue. If you need to reserve a location, do it early to ensure you get the spot.
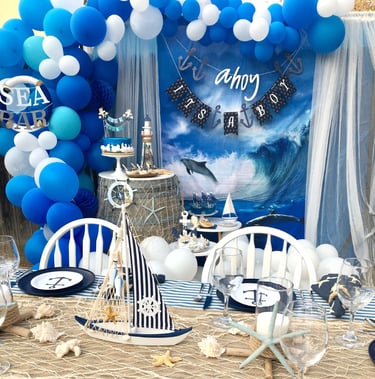
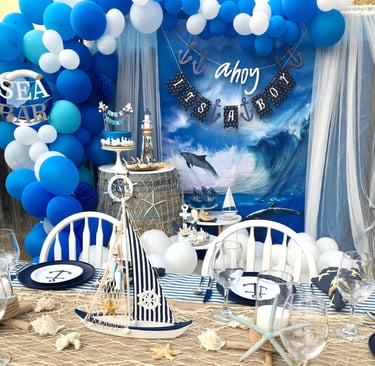
✔️ Pick a Theme (If You Want One): If you’d like a theme, now’s the time to choose it. It doesn’t need to be overly complicated—sometimes a simple color palette or vibe (boho, rustic, classic) can be enough to guide decorations and activities.
📝 Pro Tip: Create a shared Google Doc or folder where everyone involved in the planning can contribute. It’s a great way to keep everyone on the same page and ensure you don’t miss anything important.
With the big stuff locked in, you’ll have a solid foundation to build on in the following weeks!
✅ 5 Weeks Before – Invitations & Menu Ideas
It’s time to get the party details into everyone’s hands.
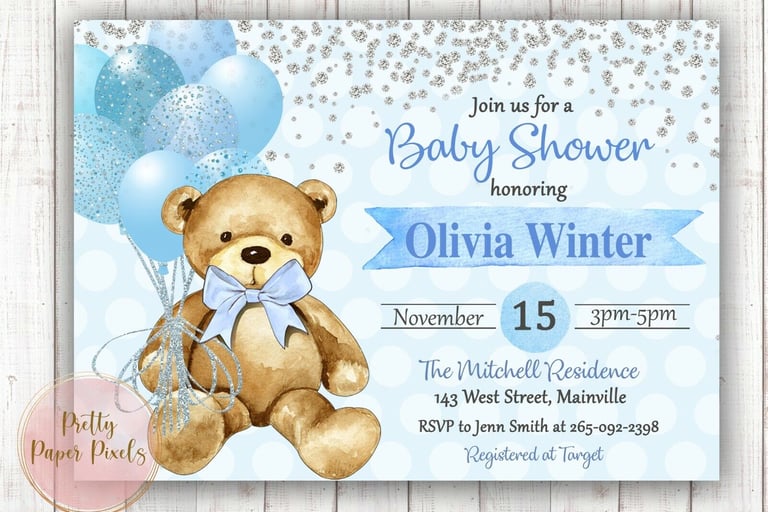
✔️ Create and Send Invitations: Whether you choose digital invites (Evite, Canva, Paperless Post) or traditional paper ones, get those invites out now. Digital options are faster and more eco-friendly, but paper invites can add a personal touch. If you’re sending paper, get them in the mail ASAP.
✔️ Include Registry Info: Make sure to either include registry information directly on the invitation or attach it in a separate note. Many registry sites make it easy to link directly to the gift list, making it easier for guests to pick out something special.
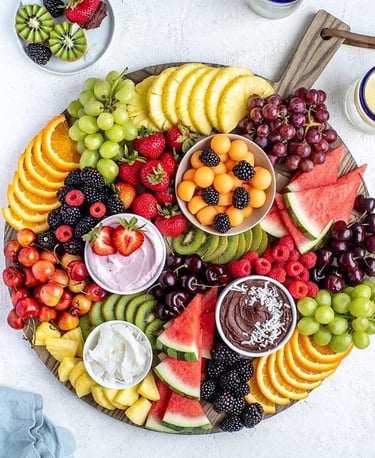
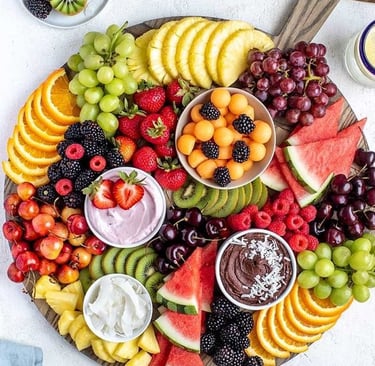
✔️ Start Planning the Food: What will the spread look like? Will you go with a brunch buffet, a grazing board, or a cupcake tower? Jot down what you plan to serve and start reaching out to friends/family to see who will bring what.
✔️ Decide on Drinks: A signature mocktail is a fun way to add a festive touch without alcohol. Think something like a sparkling berry punch or a virgin mojito! Don’t forget water and perhaps a few other drink options for variety.
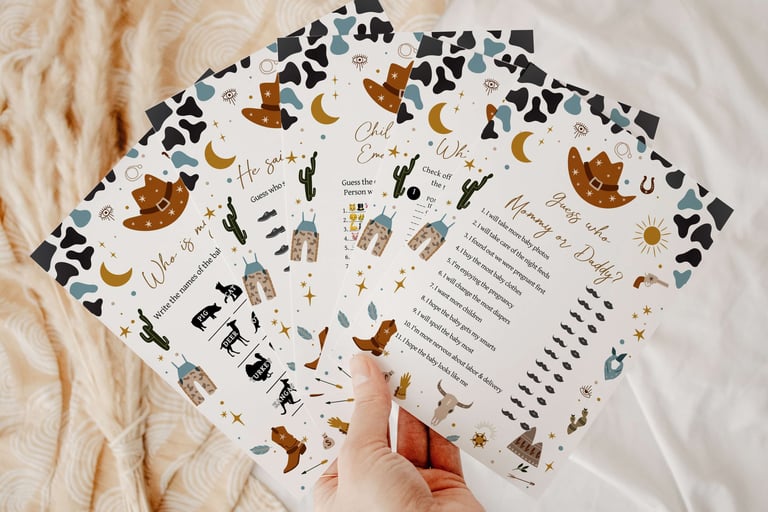
✔️ Start Thinking Games/Activities: Decide on 1 to 3 games or activities. Keep in mind the vibe you’re going for—whether cozy or rowdy, pick games that fit. Simple activities like advice cards, baby trivia, or a “guess the baby food flavor” contest are always a hit.
🎯 Bonus Points: Ask guests to RSVP by Week 3 to get a final headcount without the stress of chasing down stragglers!
With the details in place, you’ll be well on your way to organizing a seamless event.
✅ 4 Weeks Before – Decor, Favors & Supplies
This is where the party starts to take shape! Time to focus on the fun details.
✔️ Order or Make Decorations: Whether you’re going for balloons, banners, tablecloths, or printable signs, get your decorations ordered or DIY’d this week. This gives you time to work out any last-minute adjustments.
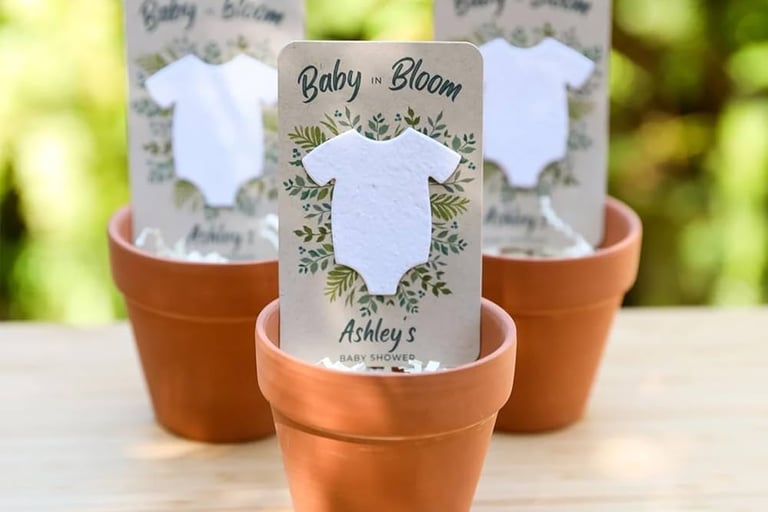
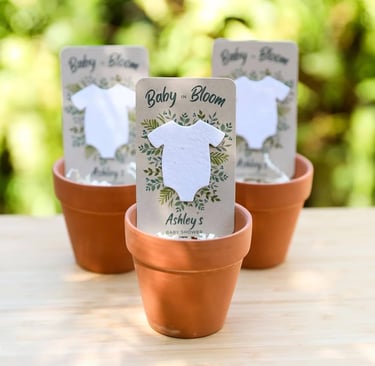
✔️ Plan or Buy Favors (Optional): Baby shower favors are a nice gesture, but they’re not a must. If you want to do favors, consider items that match the theme, like mini candles, cookies, bath bombs, or small potted plants. Pick something that fits your budget and vibe.
✔️ Buy or Borrow Serving Ware: Cake stands, punch bowls, trays, and disposable cutlery should be checked off your list this week. Make sure you have enough serving items for your guest list.
✔️ Create a Rough Schedule for the Day-of: Don’t stress about a strict schedule—just create a loose flow for the day. For example, plan for guests to arrive, followed by eating, games, gift opening, and cake. It helps everyone know what to expect and keeps things running smoothly.
✔️ Ask for Help if Needed: Delegating tasks is key to avoiding stress. Don’t hesitate to ask family or friends to take on tasks, like handling the food or setting up decorations. Let Aunt Linda take care of those deviled eggs!
🧺 My Hack: Use laundry baskets to pre-pack your decor, supplies, and non-perishable items by category. This keeps everything organized and makes it easy to grab and go!
This week is all about setting the stage for a beautiful event. Keep going—you’re almost there!
✅ 3 Weeks Before – Final Head Count & Game Prep
You’re in the home stretch! This week, it’s all about locking in details and preparing for the fun.
✔️ Check in on RSVPs: Give a friendly reminder to anyone who hasn't responded yet. You’ll need a solid guest count for food, seating, and party planning.
✔️ Finalize the Menu: Confirm what’s being made, ordered, or brought. If you’re planning a potluck-style shower, confirm who’s bringing what. This ensures you won’t be left scrambling at the last minute.
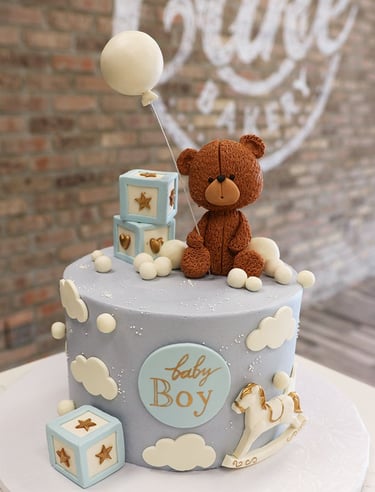
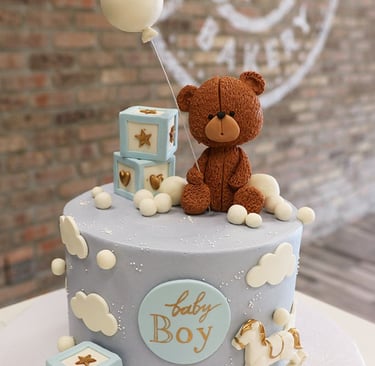
✔️ Order Cake or Desserts: If you’re ordering a cake or specialty desserts, now’s the time to place the order. Bakeries often need at least a week’s notice, so don’t wait!
✔️ Get Prizes for Games: If you’re planning any games, grab some fun prizes like candles, gift cards, snacks, or cute mugs. Keep it in the $5–10 range so it’s affordable and fun.
✔️ Buy or Prep Activity Supplies: If you’re doing any activities, like decorating onesies or writing advice cards, make sure you have all the supplies ready. This will save time on the big day.
💌 Small Detail, Big Impact: Consider printing a welcome sign with the baby’s name or theme and placing it at the entrance. It adds a special touch and makes the space feel even more personalized!
You’re making amazing progress! Just a few more steps and you’ll be ready for the big day!
✅ 2 Weeks Before – Assemble and Organize
It’s crunch time! Let’s make sure everything is in order and ready for the big day.
✔️ Do a Full Decor + Supply Inventory: Check your decorations and supplies against your list to make sure nothing’s missing. Double-check things like plates, cups, and any special items like party favors or signage.
✔️ Assemble Party Favors: If you’re giving out party favors, now’s the time to assemble them. This is a fun task that can be done while you relax with a movie!
✔️ Confirm Food Orders and Helpers: If you’re outsourcing any food (e.g., cake or catering), confirm the details now. Also, check in with any friends or family who’ve volunteered to help with food prep or setup.
✔️ Buy Non-Perishable Groceries: Pick up any snacks, drinks, plates, napkins, or other supplies that can be stored in advance. Things like chips, bottled drinks, or non-perishable snacks can be bought now to avoid a last-minute scramble.
✔️ Test Run Games/Activities: Run through the games or activities at least once (like “guess the baby food” or any craft stations) to make sure you’ve got everything you need and that the timing works.
📦 Extra Tip: If you’re mailing anything for a virtual shower (like party packs or invitations), get them out this week so they arrive on time.
You’re getting so close now—keep it up! The next step is to get everything in place!
✅ 1 Week Before – Prep & Decorate What You Can
You’re almost there—just a few more things to do to make sure everything runs smoothly!
✔️ Clean the Venue (if at home): Tidy up the party space to make things easier when setting up. If you’re renting a venue, confirm access details and check with the venue about the setup time.
✔️ Set Up Tables/Chairs if Possible: Do a dry run of the layout. You can move furniture, decide where the food will go, and figure out the best spots for decorations or activity stations.
✔️ Prep Signage and Activity Stations: Label any food, drinks, or activity areas to make things clear for guests. You don’t want to be explaining things on the day-of.
✔️ Buy Perishables (Fruit, Pastries, etc.): Pick up fresh items like fruit, baked goods, or other perishables that you can’t store for long.
✔️ Charge Your Phone or Camera: Don’t forget to charge your phone, camera, or any other devices you plan to use for photos. You might want to designate a photo buddy to help capture the memories while you enjoy the party!
💡 Night-Before Tip: If you’re traveling to the venue, load up your car with supplies, or if you're at home, organize everything into baskets by room or station. This will save you time and stress on the big day.
You're almost at the finish line! Everything is coming together!
✅ Day Of: You Did It!
It’s your big day—time to enjoy all that hard work and celebrate!
✔️ Set Up Early: Give yourself 2–3 hours if you’re laying out a full spread. It’s better to have extra time than to rush.
✔️ Decorate + Put Out Food: Arrange decorations and set the table with food. Keep cold items in the fridge until guests arrive, so everything stays fresh.
✔️ Put on Music + Light a Candle: Create the perfect atmosphere by setting the tone with some music and a relaxing candle. This will make everything feel festive and inviting.
✔️ Welcome Guests and Keep Things Flowing: Greet everyone with a smile! A loose structure for activities will help guests know what to expect and allow them to mingle.
✔️ Take Photos: Don’t forget to capture the moments. Get group shots, photos of the decorations, and some candid pictures to remember the day.
✔️ Relax and Have Fun: You’ve done all the hard work! Take a deep breath, enjoy the party, and celebrate with everyone. You’ve earned it!
🥳 After-party Tip: Pack a to-go box of treats and leftover cake for the parents-to-be. It’s a sweet gesture that lets them take home some love from the day.
Enjoy the celebration—you nailed it!
Final Thought:
Planning a baby shower doesn’t have to be a chaotic mess. With this 6-week roadmap, you’re not just planning—you’re curating a really special memory for someone who’s about to start a whole new chapter. So take a deep breath, sip a mocktail, and pat yourself on the back. You’re doing great.