Step-by-Step DIY Baby Basket Tutorials: Diaper Cakes & Themed Ideas
Create stunning DIY baby baskets with step-by-step instructions for diaper cakes and themed baskets. Perfect for baby showers or thoughtful, personalized gifts!
Emily Harper
4/14/20257 min read
Introduction:
Creating a baby basket is a fun and thoughtful way to celebrate a new arrival. Whether you're preparing for a baby shower or looking for the perfect personalized gift, DIY baby baskets add a unique and personal touch. In this guide, I'll walk you through crafting beautiful diaper cakes and themed baskets. These creative gifts are not only practical but also show your love and attention to detail! Let’s dive into the step-by-step instructions to make your own stunning creations!
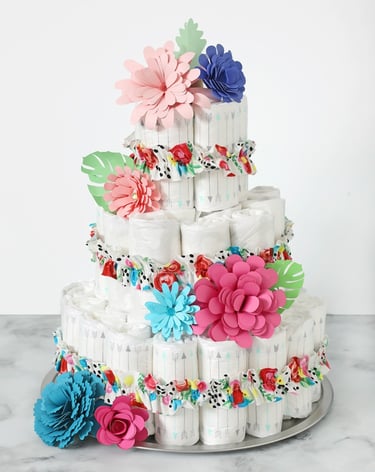
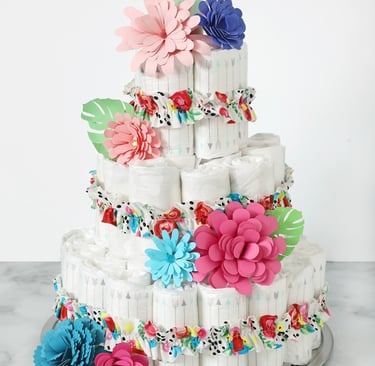
How to Create a DIY Diaper Cake
A DIY diaper cake is not only a practical gift but also an adorable centerpiece for any baby shower. It's a fun, creative way to give a bundle of essential baby supplies, all while making a statement. If you’ve never made one before, don’t worry—it's simpler than it looks! Here’s how to pull off a diaper cake that will wow any expecting parent.
Materials You’ll Need:
Diapers (Newborn or Size 1 are usually the best)
Ribbon (to decorate and secure layers)
Rubber bands (to hold the diapers in place)
A base (cardboard, a cake plate, or even a large sturdy dish)
Decorations (such as flowers, pacifiers, baby toys, or a small stuffed animal for the topper)
Step-by-Step Instructions:
Roll each diaper: Start by rolling up each diaper tightly and securing it with a rubber band. This forms the individual "layers" of your cake.
Create layers: Begin arranging the rolled diapers in circles. The first layer should be small (about 8–10 diapers). Each layer above should be slightly larger, so the overall cake gradually builds up. Secure each layer with a ribbon.
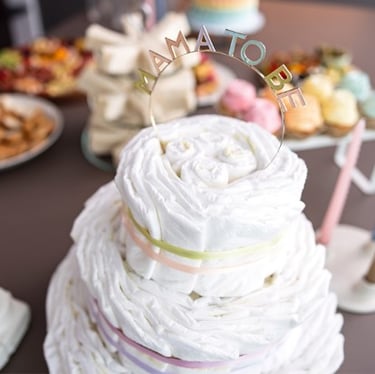
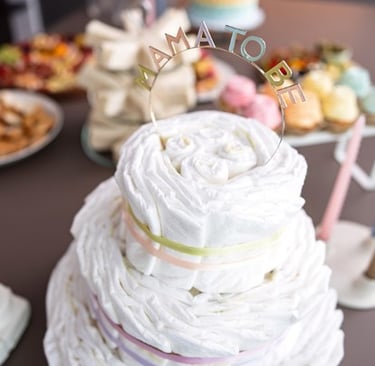
Build the cake: Once you’ve arranged and secured the diapers for each layer, stack them one on top of the other, with the largest layer on the bottom and the smallest on top. Make sure each layer is secure and stable.
Add a topper: Place a special decoration on top of your cake—this could be a cute stuffed animal, a baby bottle, or a pacifier. This is where you can really make it personal!
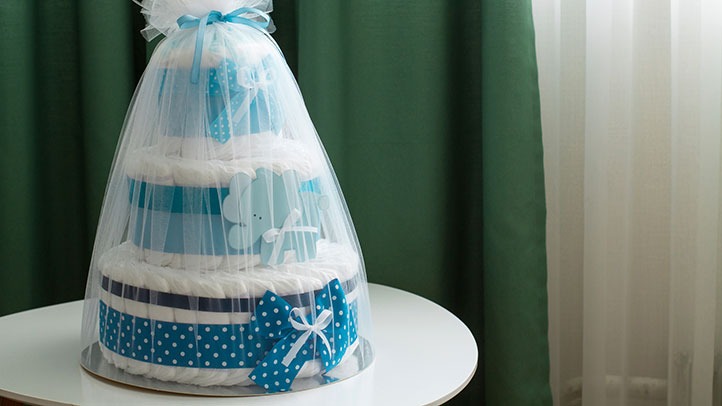
Wrap the cake: For a polished, professional look, wrap your entire diaper cake in clear cellophane and tie it off with a decorative bow. Not only does this make it look beautiful, but it also keeps the diapers secure until the big reveal.
Tips for Making Your Diaper Cake Unique:
Color schemes and themes: Choose colors or themes that align with the baby’s nursery or the baby shower theme. Pastels, animals, or even a specific character can make your cake stand out.
Personal touches: Add little baby essentials like socks, mittens, pacifiers, or even a small baby blanket to personalize it. These items are not just cute—they’re useful too!
A DIY diaper cake is a fun, thoughtful gift that’s bound to be a hit at any baby shower. With a little creativity and attention to detail, you'll create a memorable and practical decoration that the parents-to-be will love. Happy crafting!
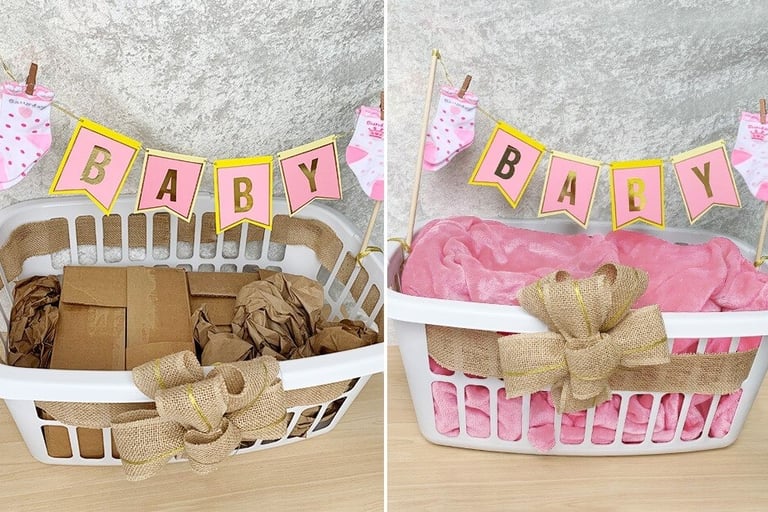
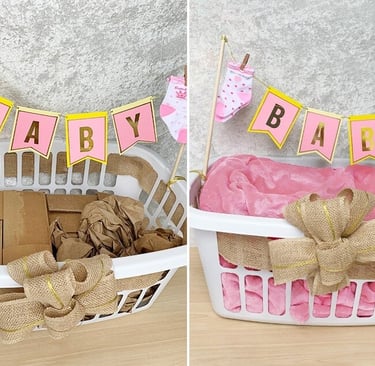
Themed Baby Basket Ideas
Creating a themed baby basket is a thoughtful and creative way to show your love and support for the new parents. Whether you're aiming for something practical or sentimental, themed baskets can be as simple or elaborate as you'd like. The best part? You can cater the basket to the specific needs or personality of the family. Let’s dive into some fun ideas to get your inspiration flowing!
Popular Themes to Consider:
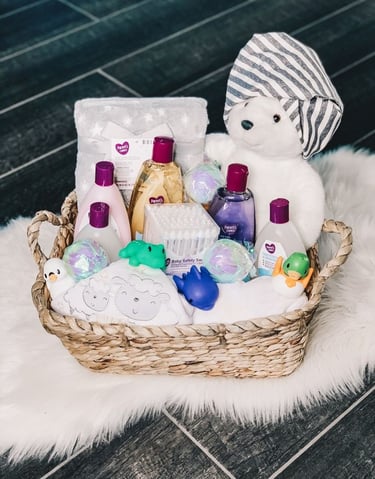
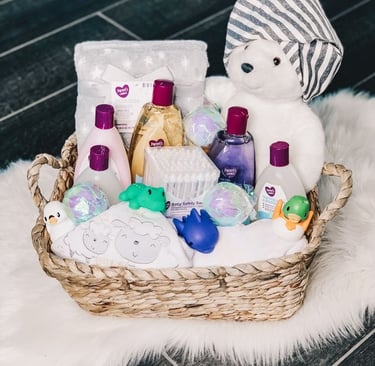
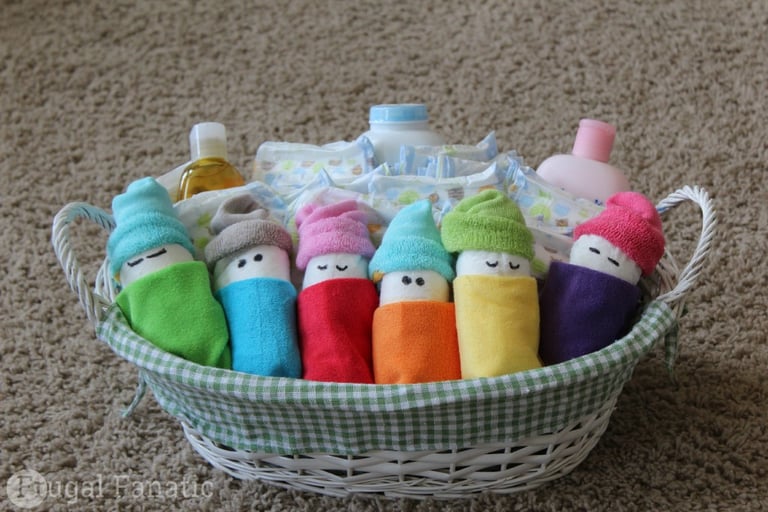
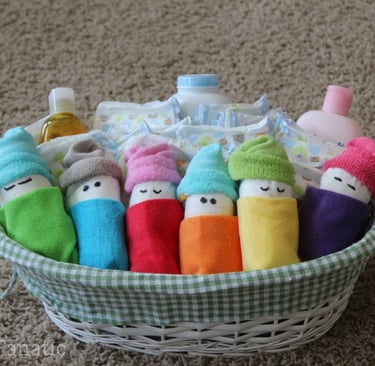
Baby Bath Basket: Perfect for pampering both baby and parents. Think baby towels, gentle shampoos, lotions, and soft washcloths. You can even include a cute rubber ducky or a bath toy for a fun touch.
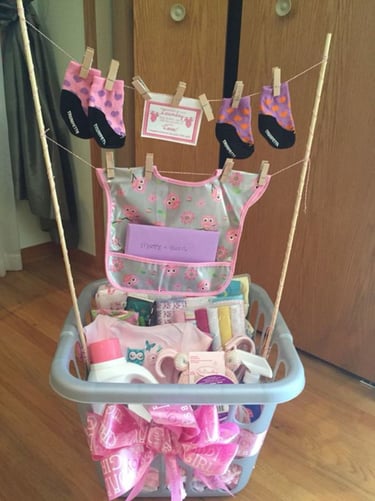
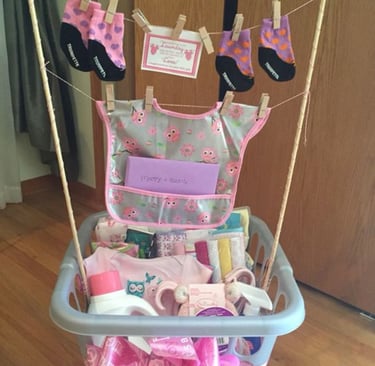
Newborn Essentials Basket: This basket is all about the basics that parents will need right away—diapers, wipes, onesies, bibs, and socks. It’s practical but still thoughtful.
"Welcome Baby" Basket: A simple yet welcoming gift filled with a mix of everything—a onesie, a pacifier, a soft toy, and maybe a baby book to start building that library. It’s an all-around lovely option for any family.
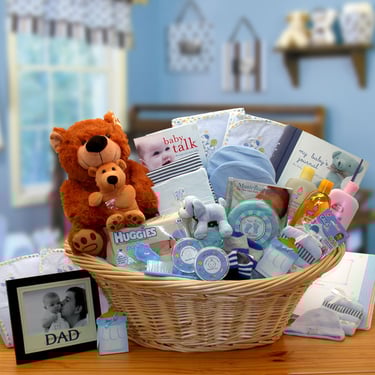
Gender-Specific Baskets: If you know the baby’s gender, you can go for traditional pink or blue baskets, but don’t be afraid to get creative with other colors. Maybe go with pastel yellow, mint, or even a neutral gray with fun patterns.
How to Assemble Your Basket:
Choose a sturdy basket: Opt for one that fits the theme—woven for a rustic feel, a plastic bin for something more durable, or even a cute tote bag that the parents can reuse.
Layer a soft base: Start by lining the bottom with soft tissue paper or a baby blanket. This will give your basket a cozy feel while also providing support for your items.
Arrange the items carefully: Place the larger items at the back and smaller ones at the front for easy visibility. It helps make the basket look organized and aesthetically pleasing.
Secure with ribbon or cellophane: A neat, tied-off ribbon or wrapping your basket in clear cellophane gives it a finished, polished look. Plus, it keeps everything in place.
Add personalized touches: Whether it’s a monogrammed blanket, a cute pair of baby shoes, or a hand-stitched onesie, these small details make the gift extra special.
Creative Additions to Your Basket:
Handmade blanket or baby clothes: Nothing says "I care" like something made with your own hands. A small knitted blanket or a set of baby clothes with a personal touch shows extra effort.
Organic skincare products: Parents will appreciate safe, gentle products for their little one. Look for organic baby lotions, diaper creams, and bath soaps that are perfect for sensitive skin.
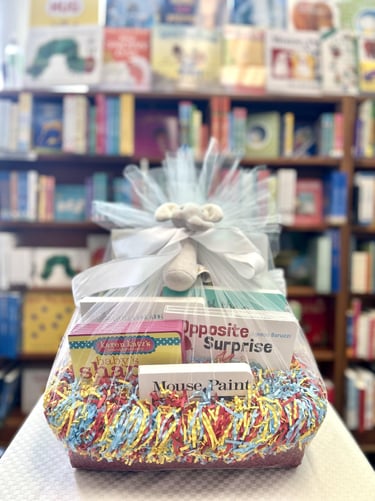
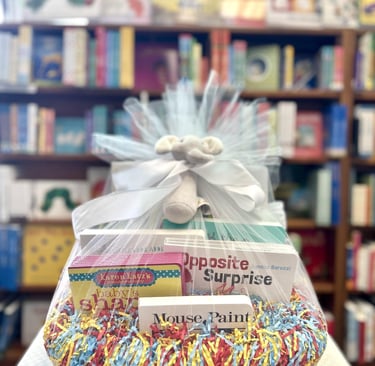
Baby books or soft toys: Include a classic baby book or a soft, cuddly toy. It’s a great way to start building the baby’s first library and encourage bonding and early learning.
A themed baby basket is a versatile and personal gift that can be customized to suit any parent’s style and needs. With the right theme, thoughtful items, and a little creativity, your gift will be cherished for years to come. Happy basket-making!
Budget-Friendly Tips for DIY Baby Baskets
Creating a beautiful and thoughtful baby basket doesn’t have to break the bank. With a little creativity and some savvy shopping, you can craft a meaningful gift that still feels luxurious without going over budget. I’ve found that with a few budget-friendly tricks, you can make something that looks and feels much more expensive than it actually is.
Affordable Materials:
Use baby products you already have: Don’t hesitate to raid your own stash of baby items—unused baby blankets, toys, or clothes you’ve accumulated over time can make perfect additions to a basket. Or, if you're gifting for a second baby, repurpose gently used items that are still in great condition.
Repurpose old baskets or containers: Before you go out and buy an expensive basket, look around your home for an old basket or even a cute box you can transform. A little bit of cleaning and decorating can turn something ordinary into a chic base for your basket. Plus, it’s eco-friendly!
Shop for decorations at craft stores or online: Instead of splurging on expensive gift wrap or fancy ribbons, head to your local craft store or online marketplaces for affordable yet stylish options. You’ll be amazed at how much you can find for just a few dollars. A little ribbon goes a long way!
How to Make Your Basket Look Expensive Without Breaking the Bank:
Use simple but elegant ribbons and tissue paper: You don’t need fancy, expensive wrapping materials. A simple satin ribbon or a few layers of tissue paper can make a huge difference in how the basket looks. Stick to neutral tones like ivory, gold, or soft pastels for an elegant touch.
Add a personal touch: Personalizing the basket with handwritten notes or tags can add a sense of thoughtfulness and exclusivity. A short note or a sweet tag with the baby’s name or a heartfelt message makes the gift feel unique and special.
Combine multiple small items into one gift set: Instead of buying a few larger items, consider grouping smaller baby essentials into a themed set. For example, instead of gifting a single toy, create a “bath time” set with baby wash, a washcloth, a rubber ducky, and a hooded towel. When items are bundled together, they give the impression of a high-end gift without costing a fortune.
With these simple strategies, you can craft a stunning, budget-friendly baby basket that’s just as meaningful as an expensive one. Don’t forget: it’s the thought and care that counts the most. Your creativity will shine through in every detail, and the new parents will appreciate the effort you put into making their gift so special!
Conclusion:
DIY baby baskets and diaper cakes are the perfect way to make a memorable gift for a new parent. Whether you're crafting a simple diaper cake or a themed basket filled with baby essentials, the possibilities are endless! So, grab your supplies and start creating a thoughtful, personalized gift that will be cherished by the parents. Got your own DIY baby basket tips?